I am delighted to declare that we are welcoming Michael Hackney as a regular contributor to the CNCCookbook blog. Every week, he will be providing fresh content on 3D printing. I have known and admired Michael’s work for a good while; when I learned he was delving deeply into the world of 3D printing, I immediately extended an invitation for him to share his expertise with our readers. At CNCCookbook, we are intrigued by everything related to CNC, and I believe it’s particularly useful to have a contributor who is well-versed in a burgeoning field like 3D printing. I eagerly anticipate Michael sharing his thoughts on setting up your own CNC business, an endeavor he’s undertaken successfully on more than one occasion. Without further delay, I’ll let Michael introduce himself, as per my request.
Hello, I’m Michael Hackney and I’m excited that Bob has invited to be a guest blogger handling the 3D Printing Beat here at the CNCCookbook. In this introductory post I’ll give you an overview of who I am, how I’ve built a “micro factory” to manufacture fly fishing reel kits with home-brewed CNC equipment, and, of course, my interest and experience in 3D printing. I promise the next post will have much more 3D printing information!
I’ve used traditional machine tools for over two decades – primarily as a hobbyist – and built my first CNC machine in early 2004. It was a moving-gantry style router with an 18” x 12” x 4” work envelope. It was a great experience that allowed me to cut my teeth on the mechanics, electronics and software tool chain aspects of CNC.
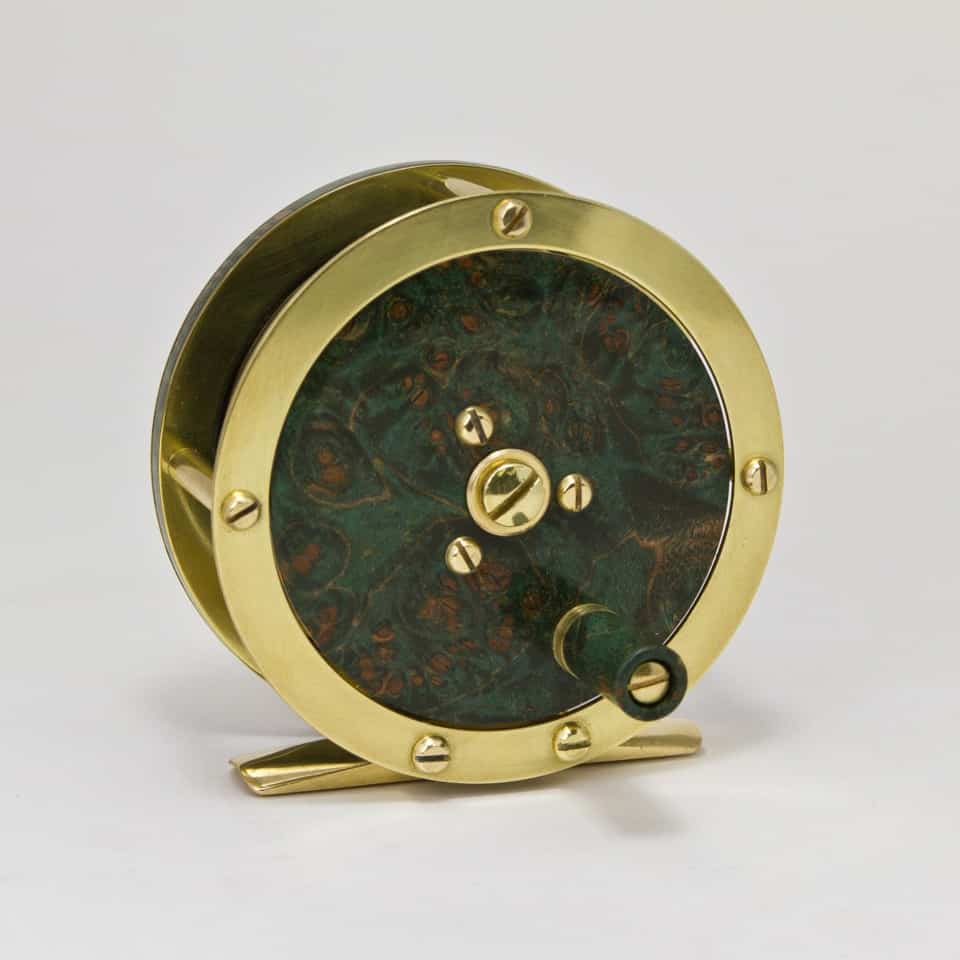
Around that time I began hand-crafting fly fishing reels (fly fishing and angling history is my other life-long passion). Very few anglers were making reels and talking about reel building so my posts on the fly fishing forums were met with great interest and enthusiasm. Here is a photo of one of my earlier reels made in brass and dyed wood burl:
The outpouring of interest and a genuine desire to share what I learned led to writing <a href=”http://www.eclecticangler.com/the-reelsmiths-primer/”>The Reelsmith’s Primer</a> to teach others how to make reels with basic hand tools. I also started the Reelsmithing Forum to share ideas, information, and techniques for reelbuilding. Interest in reelsmithing grew and I received dozens of emails asking if I would make some of the difficult parts or offer a reel kit for sale.
Being an entrepreneur at heart (I’m a software technology entrepreneur by day) I recognized an opportunity to make fly fishing reel kits. Fishing rod building kits were already popular with many anglers so this seemed to make sense. Rod making is a mature industry with off-the-shelf components, but no such industry exists for reel parts and components. This was both an opportunity and a challenge and meant that I needed to manufacture these parts myself. And so the learning began!
I quickly had to learn to design for manufacturing. It’s one thing to make one-sies or two-sies, it’s a much bigger challenge to make thousands of something! Each machining operation adds time and complexity – and according to the old saying, “time is money”. On top of that, designing and manufacturing kits that are enjoyable to assemble adds another dimension of complexity. I started The Eclectic Angler, offering a single brass fly fishing reel kit,. I was on my way and optimistic that I might have found a nice little niche business. This photo shows the parts in my first kit, all manufactured in my “micro-factory”:
I quickly outgrew the simple CNC router and needed a beefier machine, so I decided to convert a Sieg X2 mini mill. Along the way I also CNC’d a Sherline lathe to handle turned parts. Both of these machines were upgraded with a Grizzly G0704 mill and G0602 lathe that I converted to CNC. Both very capable machines that have really improved quality and throughput. I still use the X2 mill to do small production runs when needed. Here it is in it’s “shower curtain” enclosure:
As my machining capabilities improved, my reel designs also benefitted. I am able to manufacture more complex components in the same amount of time with even greater precision, enabling new design possibilities. I now offer ten kits in my catalog. At first each kit was unique, using different screws and other parts. I quickly learned that standardizing as many parts as possible simplified inventory management, improved quality, lowered costs, and simplified kit packaging and instruction manuals.
I got into “additive manufacturing” or 3D printing a little over a year ago. I’d been following the RepRap movement for a few years but didn’t have the time or need to dive in. At first, I was primarily interested in rapid prototyping new reel designs and parts. Milling requires work-holding and I’ve come to realize that fixturing and work-holding are often the biggest production challenge. 3D printing does not require fixturing, you print directly onto a smooth surface like glass or aluminum and the plastic adheres to that surface – built-in work-holding! I am able to produce a new design and make a test print in a few hours. Although printing takes longer than machining, it does not need to be attended and can be done on my desk.
I started with a rather simple SeeMeCNC H-1 printer. It’s main attraction was that it was controlled with a parallel port controller and Mach 3 – exactly how I control my milling machines and lathes. I’ll blog more on this in the future, but it turns out that the Open Source Arduino-based controllers and software are very inexpensive and quite full featured. Mach 3 seemed attractive but in reality, it is better suited for traditional machining. This little H-1 printer has a work envelope approximately 7” x 7” x 7”, here it is:
I’ve now built three 3D printers, including the most recent – a SeeMeCNC Rostock MAX. This printer is what’s called a delta robot. Rather than having X, Y and Z axes arranged like a typical Cartesian milling machine or RepRap style 3D printer, it has three towers arranged 120° apart on the perimeter of a circle. I was mostly attracted to it’s spider-like movement but it has a very large work envelope and can move in any direction very quickly. One of the weaknesses of most of the consumer and RepRap style printers is the Z axis. It is typically moved with a 1/4-20 threaded rod at a snail’s pace. This makes homing and any Z movement painfully slow. Here’s a photo of the towers and “delta arms” of my Rostock:
In addition to prototyping parts and designs, I am now exploring use of printed parts in my reels. For example, the spool hubs I use are a simple rod of acetal. An alternative design with a barbell shape holds more fishing line and is an elegant visual touch, but it also requires more lathe time and setup. 3D printing a group of these (I can do more than 20 at a time on the Rostock) in ABS is very efficient and opens the door to using different colors and shapes. There are other possibilities but I don’t want to give away all my secrets at once!
As I’ve gotten more into 3D printing, and in particular the Rostock MAX, I’ve found new opportunities for improving and enhancing these machines. The technology is still in the “Wild West” phase. Earlier this year, I decided to broaden my horizons and take on some of the challenges in 3D printing, so I started 3D Fabrication Works to offer custom manufactured add-ons for the Rostock MAX and other 3D printers, and maybe even my own 3D printer design. 3D Fabrication Works let’s me apply my experience in designing for manufacturing to a completely new market and opportunity.
Personal desktop 3D printing is becoming what’s called a “technology disrupter”. It changes the manufacturing game. The old adage “think globally, act locally” has a new twist, “design globally, fabricate locally”. As Bob wrote in a recent article, Manufacturing is Cool Again! I’m excited to share what I’ve learned and am learning here on the CNCCookbook. Please feel free to email me if there is anything you’d like to see me cover in the 3D printing world!
Like what you read on CNCCookbook?
Join 100,000+ CNC'ers! Get our latest blog posts delivered straight to your email inbox once a week for free. Plus, we’ll give you access to some great CNC reference materials including:
Bob is responsible for the development and implementation of the popular G-Wizard CNC Software. Bob is also the founder of CNCCookbook, the largest CNC-related blog on the Internet.
I was hoping to get some more information about the printed fly reel or any other fishing related 3D printing project that you may be working on. I live in Boston Mass USA and have grown up fly fishing, both salt and fresh water. I also work in Cambridge mass for a 3D printing company that produces a “desk top” printer. We are constantly playing and tinkering with designs and would very much like to play with your design. Let me know if that’s possible. Best, Hubbard


Bob,
I was hoping to get some more information about the printed fly reel or any other fishing related 3D printing project that you may be working on. I live in Boston Mass USA and have grown up fly fishing, both salt and fresh water. I also work in Cambridge mass for a 3D printing company that produces a “desk top” printer. We are constantly playing and tinkering with designs and would very much like to play with your design. Let me know if that’s possible.
Best,
Hubbard
Hubbard, for more on fly wheels, you’ll want to check out Michael Hackney’s site: Eclectic Angler.
I really love the Brass and burled wood fly reel. Do you sell these? If so how much. Thanks in advance.
Stephen